Do you have a problem with your hands-free liftgate not working?
This can be an inconvenience since this is how you are able to access your trunk. If you are concerned with this problem, then you are not alone. This happens to a few people, and there are certain fixes you can try.
With all these things in mind, find out more about the causes and solutions for your hands-free liftgate not working. Keep reading this post to know how to address this concern. Let’s get started.

Causes and Fixes For Hands-Free Liftgate Not Working
There are a few reasons why your hands-free liftgate is not working. But among the most common ones include the latch or the switches malfunctioning. If your liftgate remains stuck closed and cannot be opened, and you tried everything to access it without avail, then it is possible that you have a faulty latch or switch.
This is why if you want to address this problem, here are some things you can try:
Try pressing other buttons on your key fob such as the unlock and the lock buttons. By doing this, you can confirm that there is no problem with your remote key.
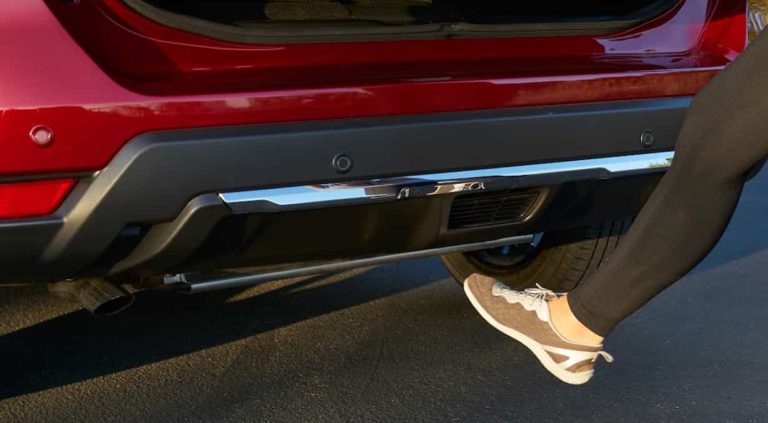
2. Confirm that your automatic liftgate switch has not been turned off.
Another common reason why the hands-free liftgate is not working is due to the automatic liftgate switch being turned off. For example, you may have accidentally switched it off because of certain objects that interfered with the switch. So, if this is what happened, you need to check if the switch is still on or not.
3. Use a scanning tool to scan your liftgate module.
We highly recommend scanning your liftgate module first before trying to open your liftgate and inspecting the parts. A scan tool is useful for reading some modules in the liftgate and simply scanning for error codes.
Additionally, the scan tool can provide information on the history of why you have a faulty liftgate and where exactly you should begin to look.
In case you see some commands such as “last open fail data”, this provides details such as your module’s failure to detect your vehicle is in park mode. In this instance, it means that some parts of your vehicle such as the transmission requires programming.
A problem involving your liftgate failing to open could mean there are faulty modules in other areas of your vehicle. So, it is best to use your scan tool to determine what these are.
4. Open your liftgate manually.
You will have to use some tools such as a flat blade screwdriver and a boroscope to manually open your liftgate. To start, put your seats down. Remove cargo from your trunk, so you can have the required space for opening the hatch.
Using a flat blade screwdriver, pry off your trim plug located in the interior panel of your liftgate. You may have to use a boroscope or another tool with a similar configuration to check where your release is. Then, press your release using a flat blade screwdriver and open your liftgate.
5. Inspect the fuses.
Locate your fuse box, which should be underneath your instrument panel, found on the passenger side. Check the key found on your instrument panel – look for your 15-amp DSPLY fuse. You may have to test the fuse using a test light to check if it is blown or still in working condition.
Connect your test light to a ground close to the fuse box. Then, test your fuse. Press your test light’s probe to the hole located on either side of your fuse. If you see that your test light is illuminated on both sides, it means that your fuse is perfectly fine.
You can also try to take the fuse out and confirm that your internal wire is still intact. If you notice that the wire appears to be broken, it means you have a blown fuse and will need to be replaced.
We also recommend checking your 30-amp fuse for the power liftgate, which is in your fuse box underneath the hood. Inspect the fuse for any broken wires – if so, this confirms a blown fuse. You may also want to try switching your fuse with a different 30-amp to check if this one works.
6. Remove your liftgate panel.
If you still cannot see what the problem is, then you may have to take the liftgate panel out. Remove clips and trim pieces such as your pull handle that contain screws on the bottom. Use a trim tool to pry the liftgate panel off.
As for the tools you may need, these include plastic trim tools, a flat blade screwdriver, and a ratchet, 7 mm socket, as well as a socket extension.
Use your flat blade screwdriver to take the push clips off of your liftgate latch. Then, pry your liftgate handle down, and take it off using your plastic trim tool.
Remove your 7-millimeter bolts from your hatch handle. Pull your lower panel down and disconnect any electrical connectors. Remove your lower panel out of the retaining clips. Do this by pulling this part down. Then, connect your electrical connectors to your liftgate panel. Press your lower panel to your retaining clips found on the liftgate under the window. Press your panel into your liftgate as you connect the retaining pins.
Tighten your 7-millimeter screws to your liftgate handle and attach your liftgate handle trim. Reinstall your push clips back to the lower panel and it should be good to go.
7. Test your electrical connectors
You may need to test your electrical connectors to confirm if these are damaged or not. You may have to use a multimeter for testing the power buttons on the liftgate switch. Oftentimes, the switches can get dirty, so they tend to fail. Check if there is voltage or if the switch only requires to be cleaned.
Read More: Fog Lights Not Working After Led Headlight Install – What To Do!
Bottom Line
When you have your hands-free liftgate not working, it can be quite frustrating. Fortunately, there are things you can try to get it to work efficiently. We hope this article has been helpful in addressing this concern of yours.